
Last updated September 19, 2026
Full 25-point door and opener safety check with every visit - springs, cables, rollers, tracks, and your LiftMaster or Chamberlain opener included
You get a price before we start. It does not change when the truck arrives.
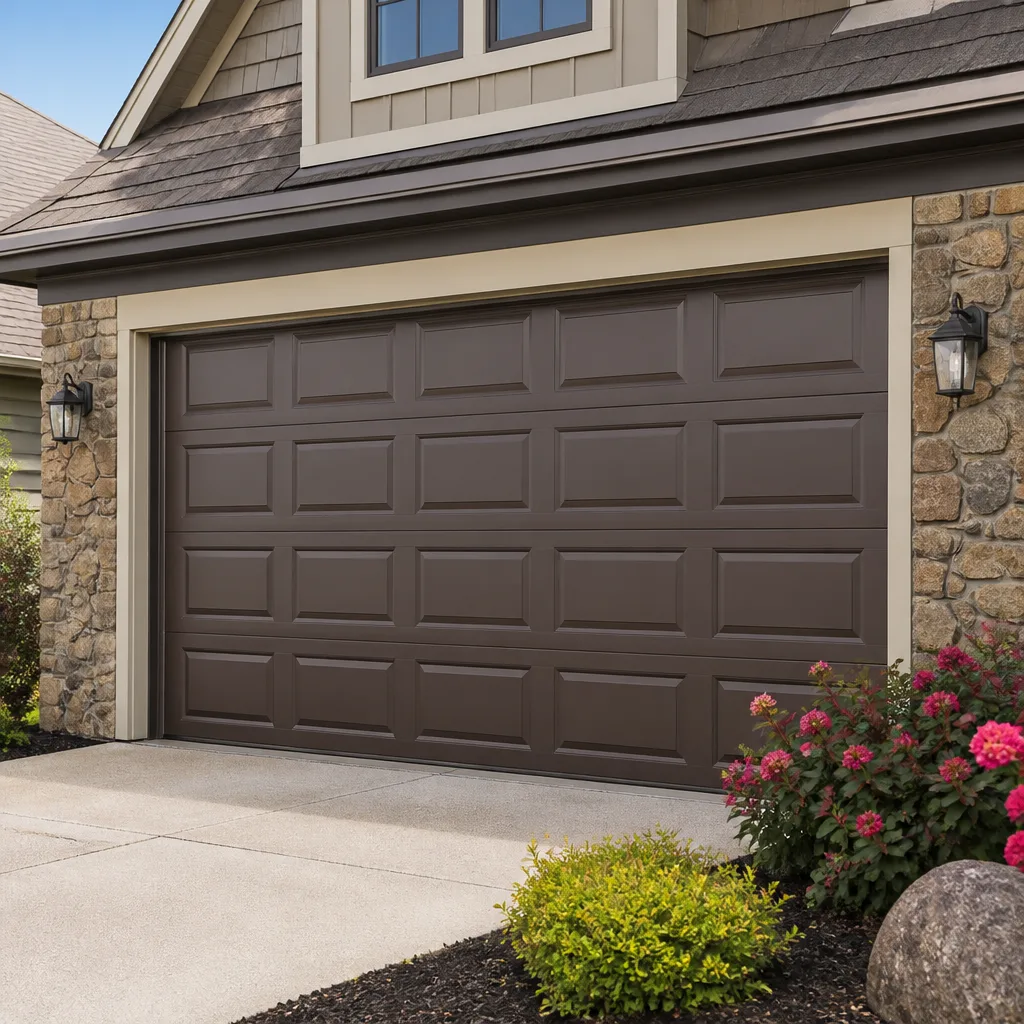
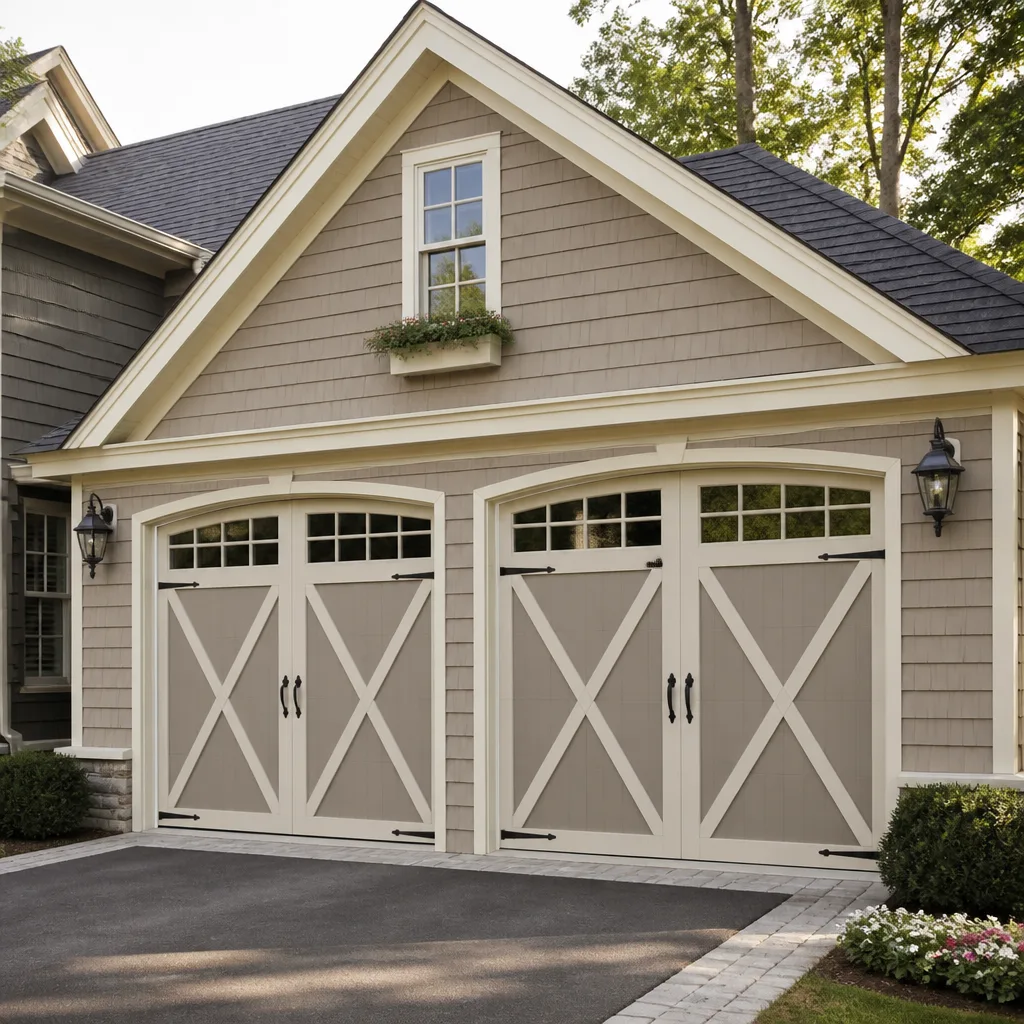
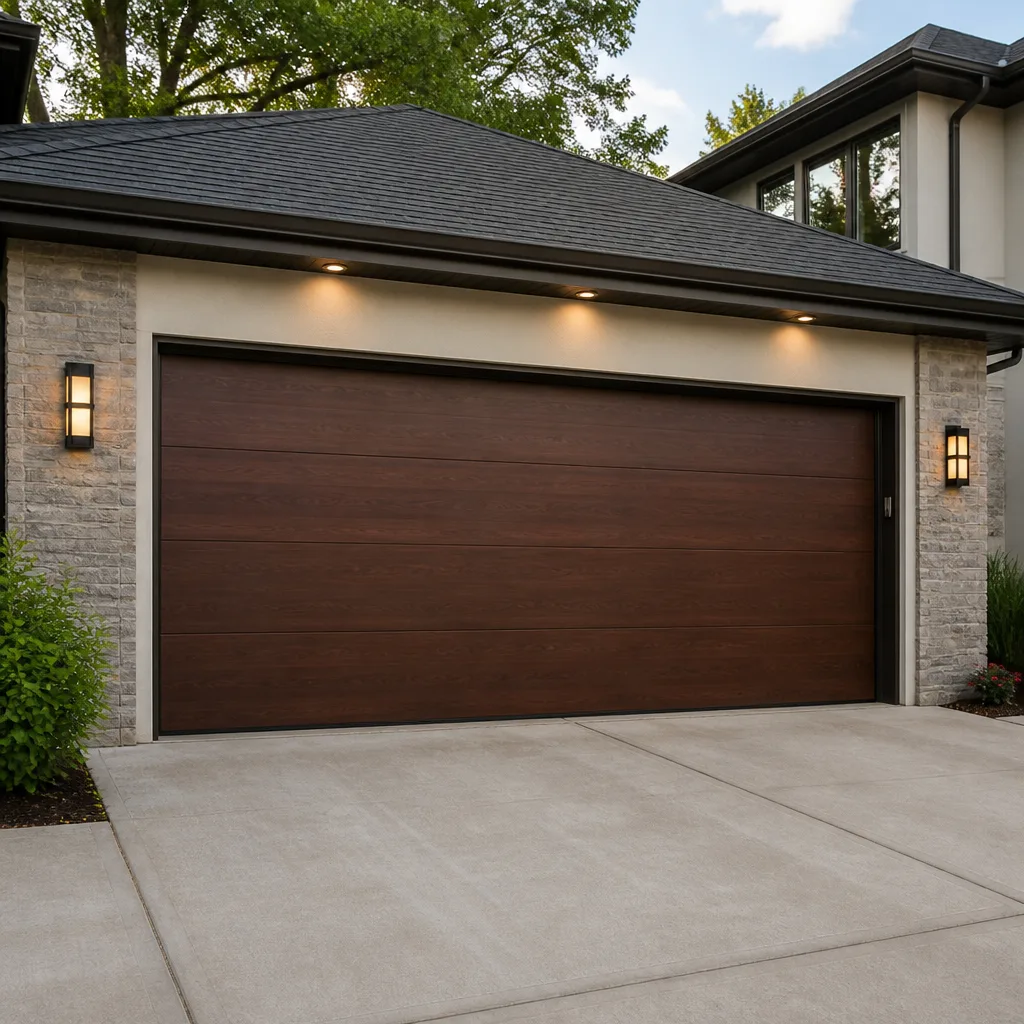
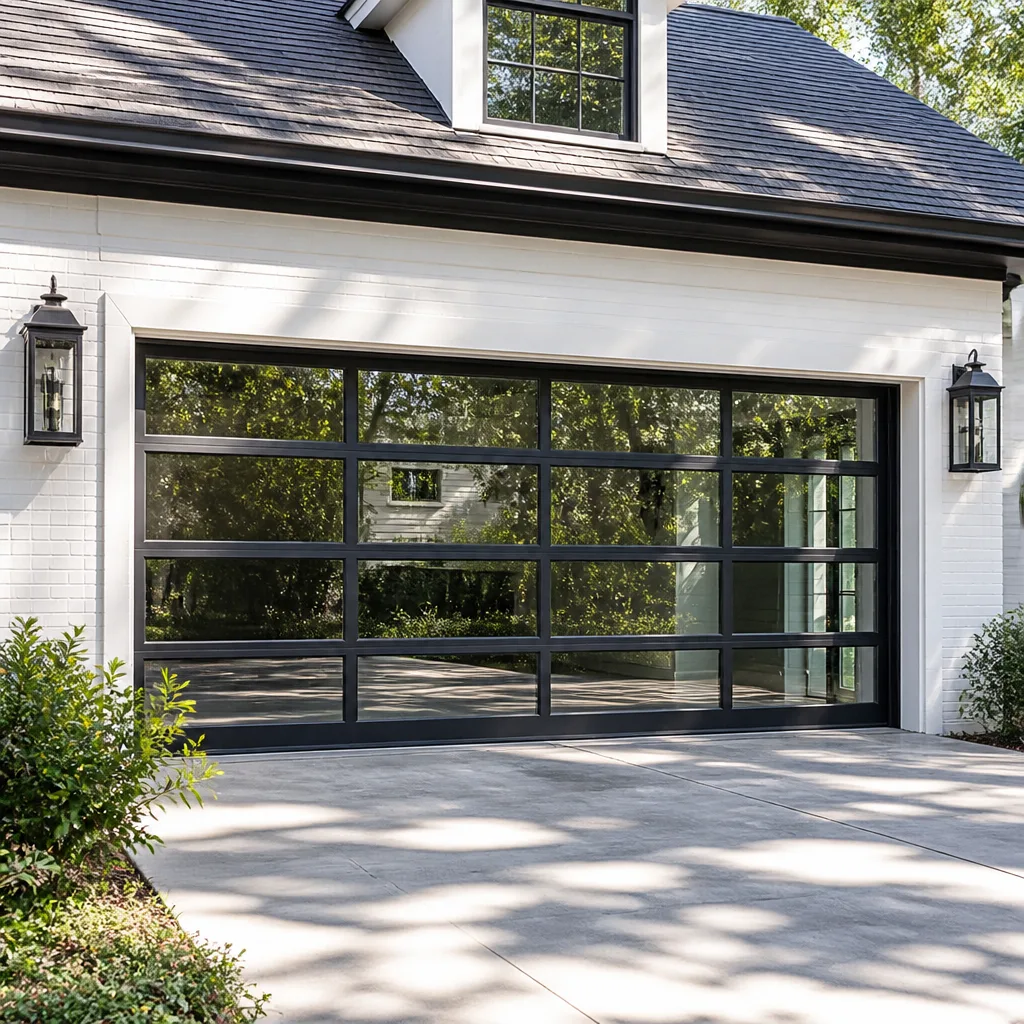
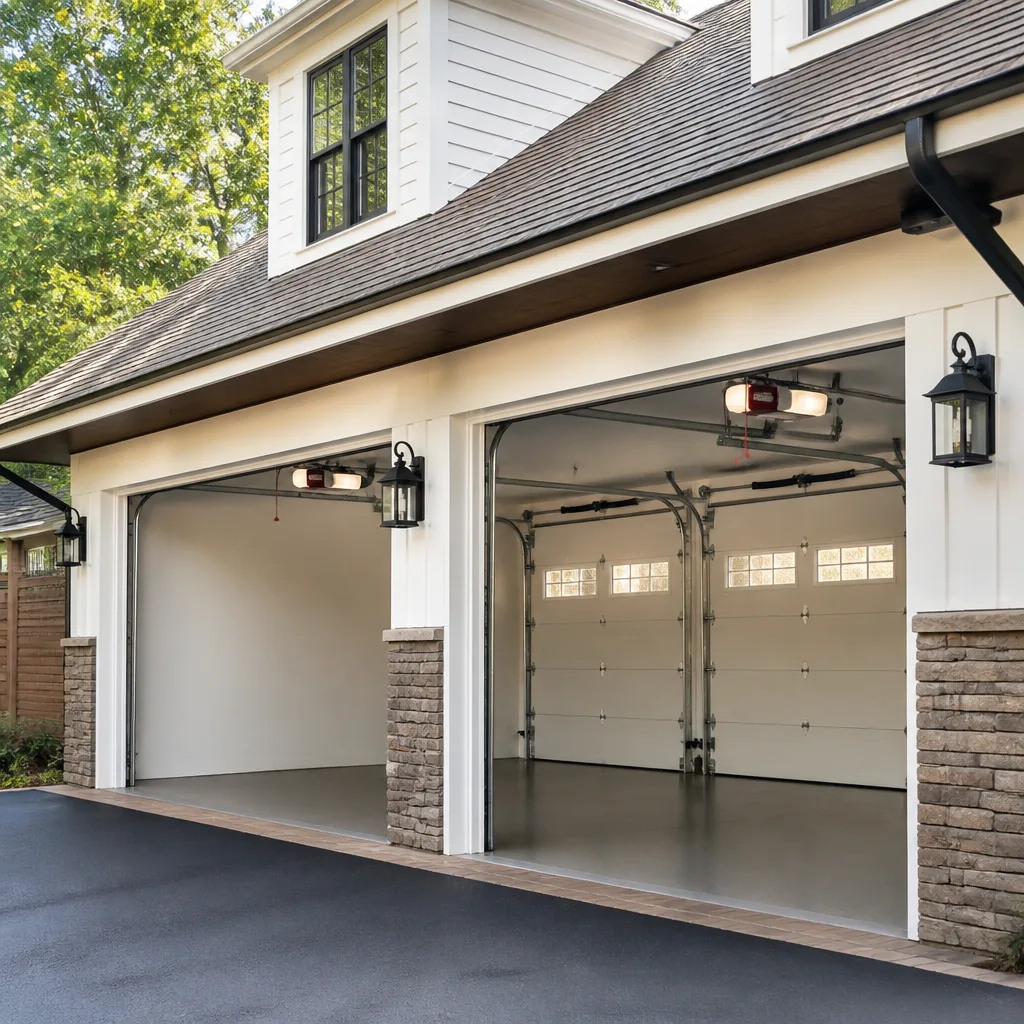
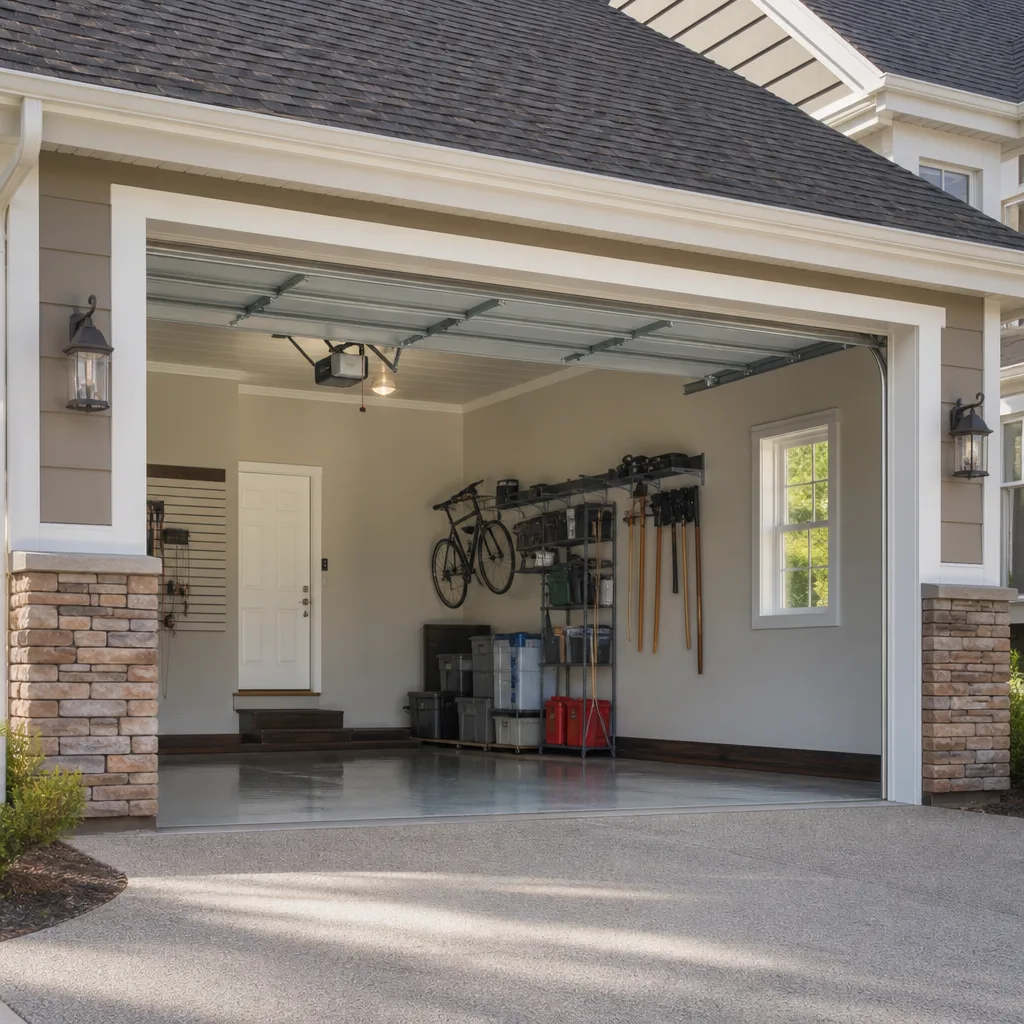
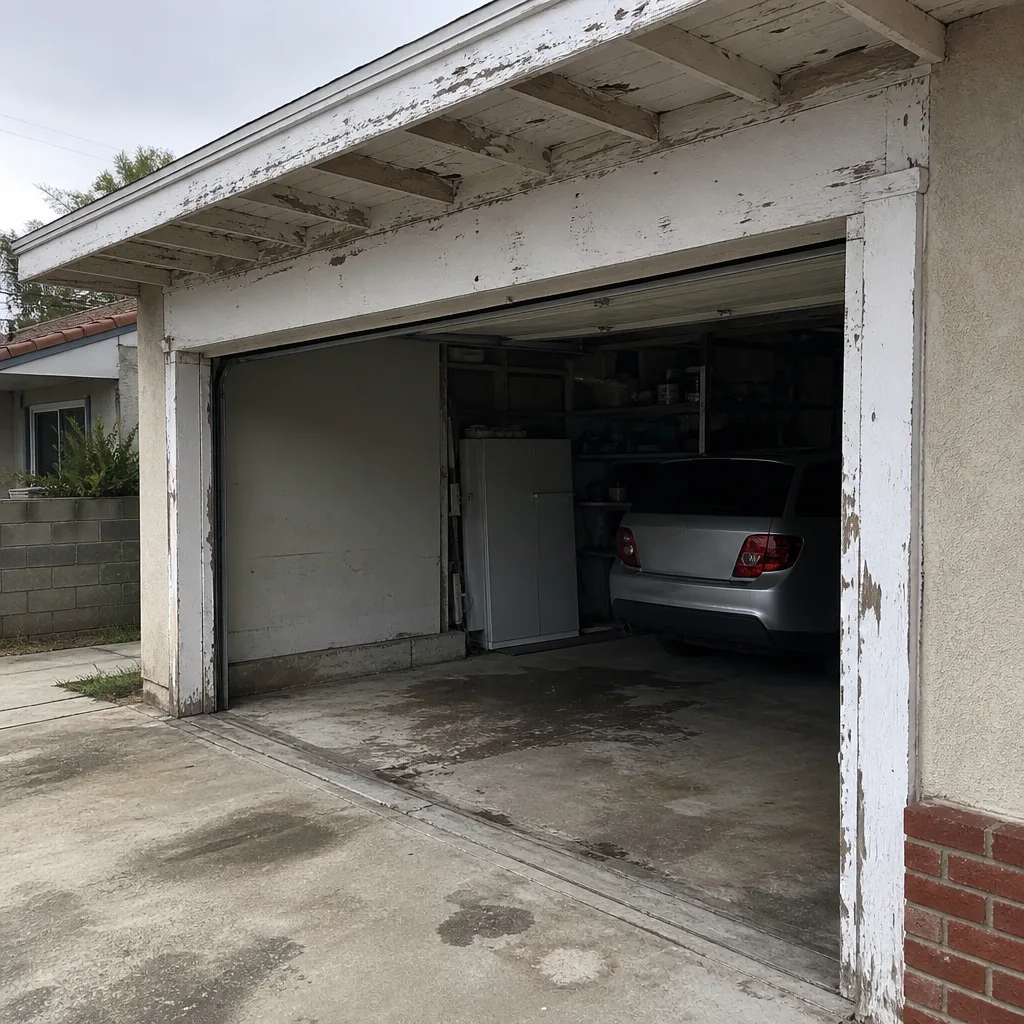 Before
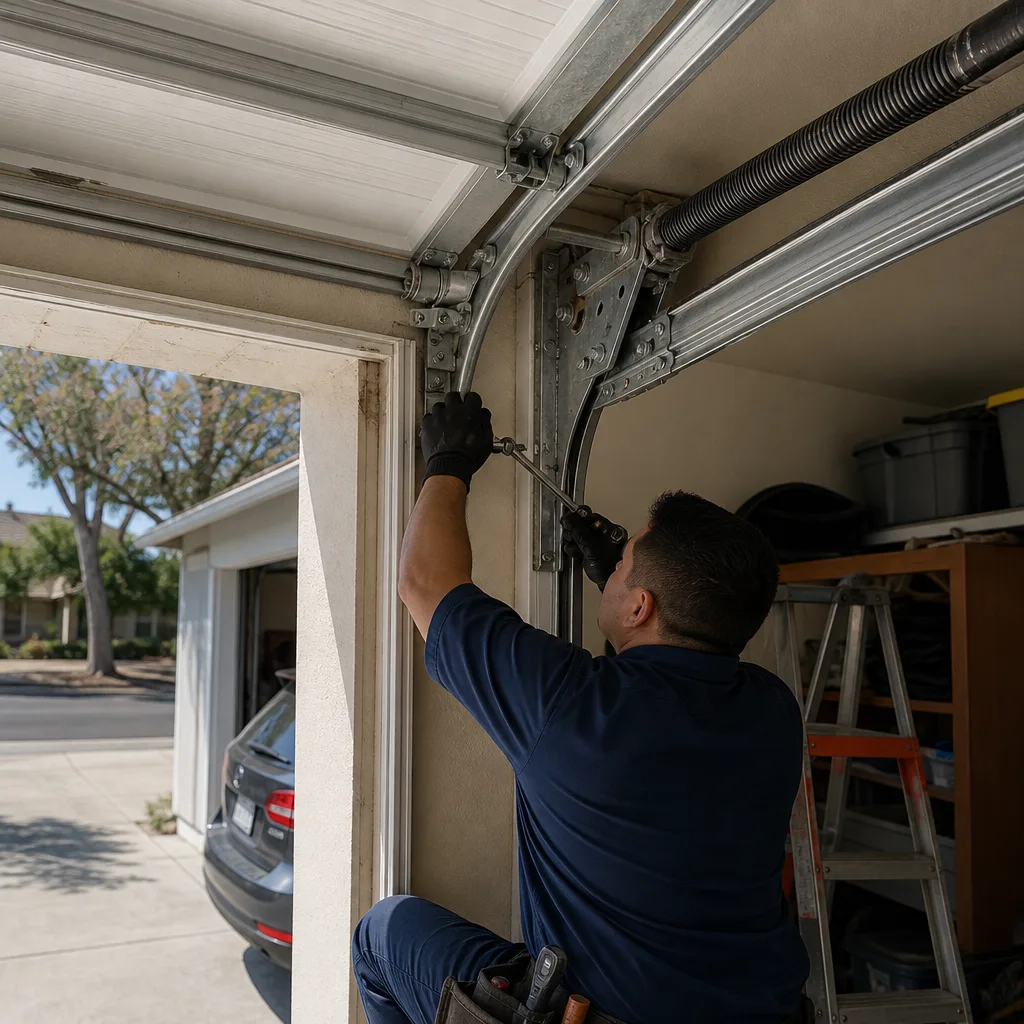 After
After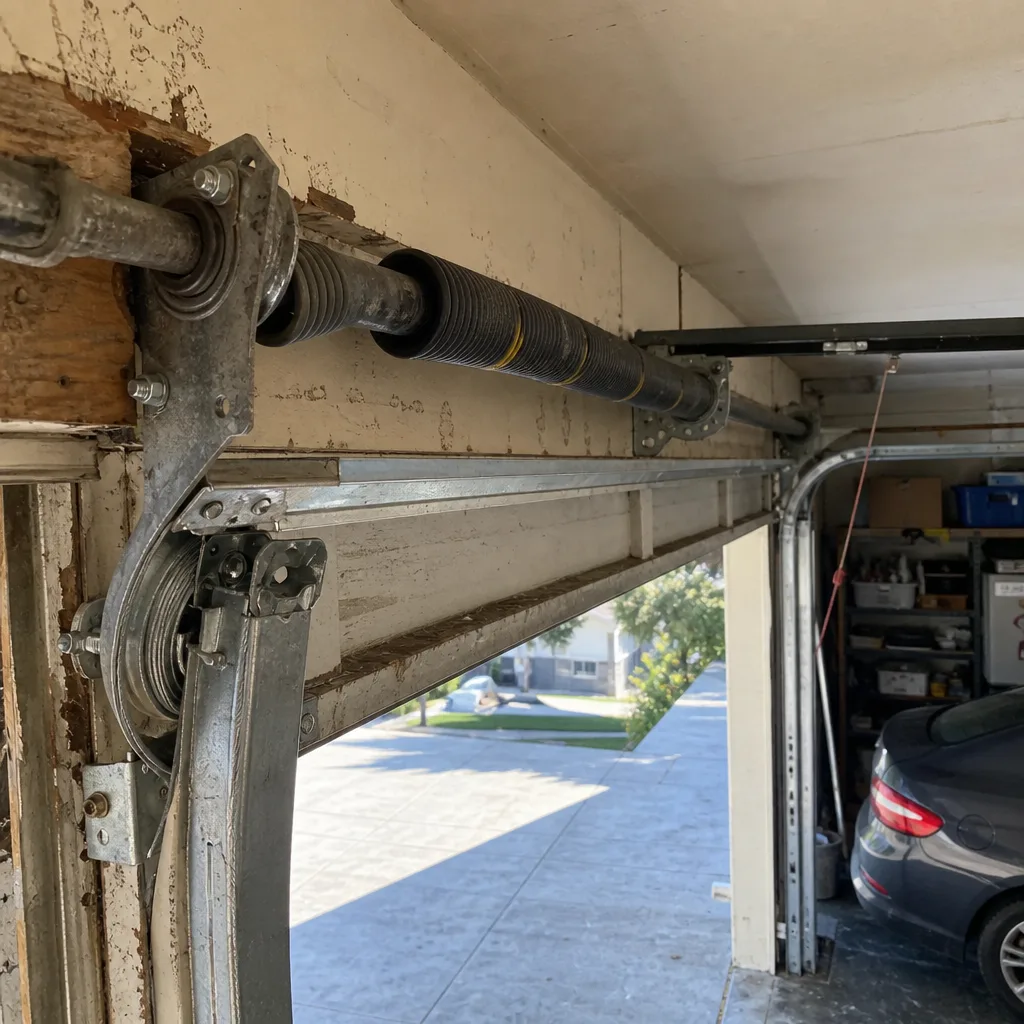 Before
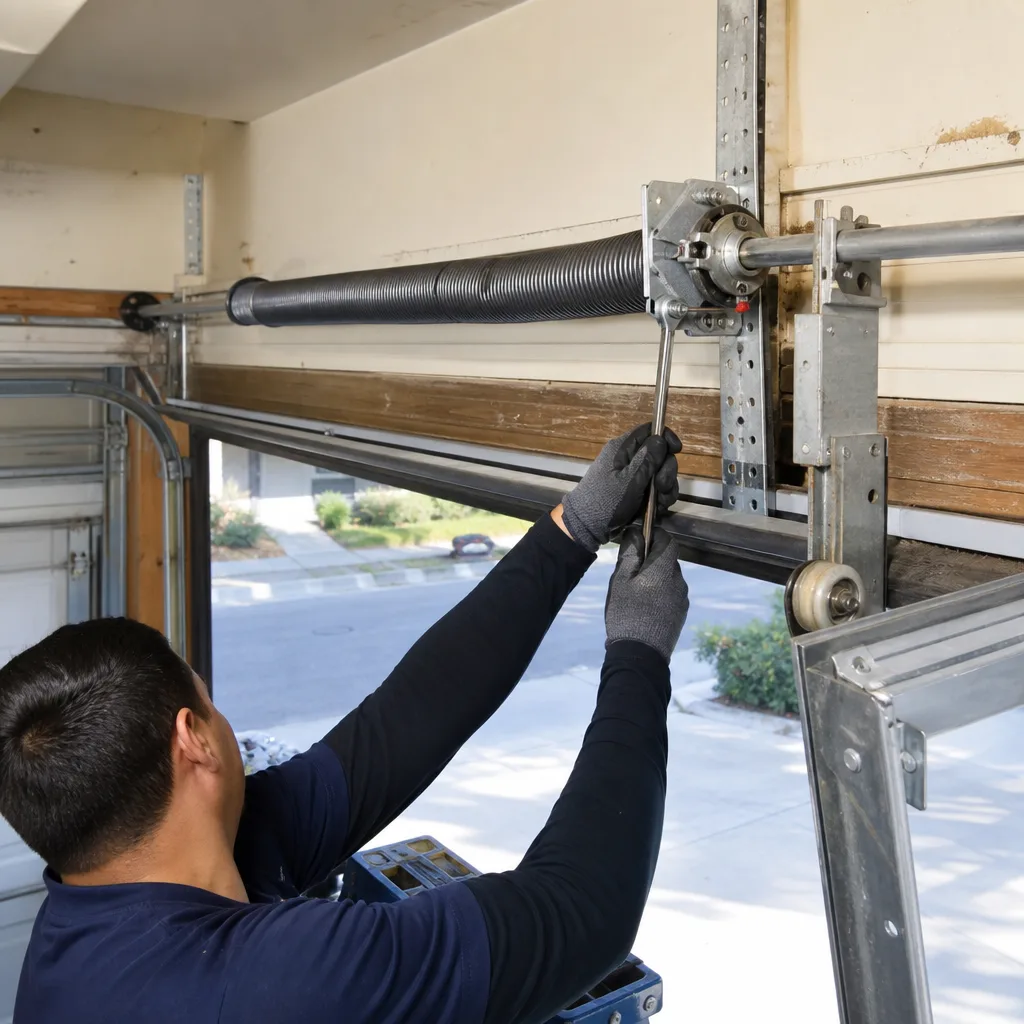 After
After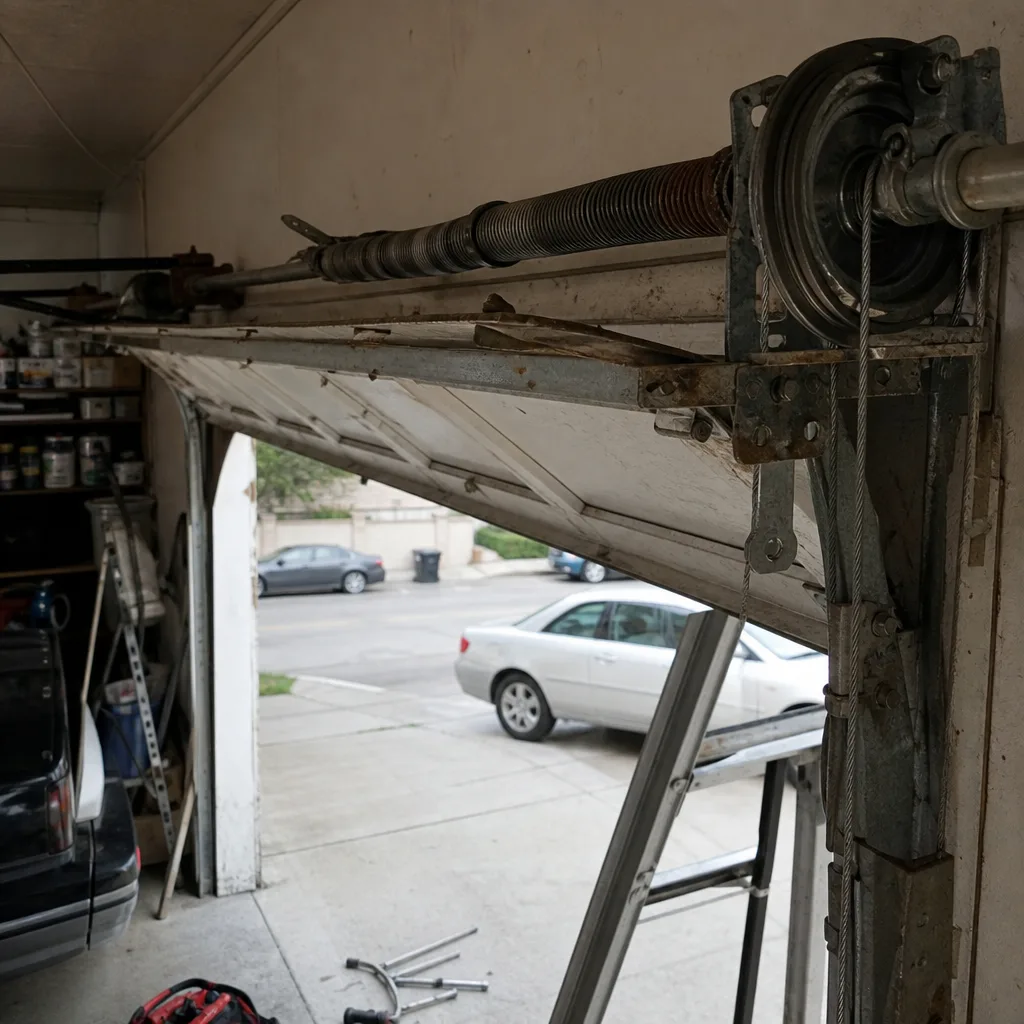 Before
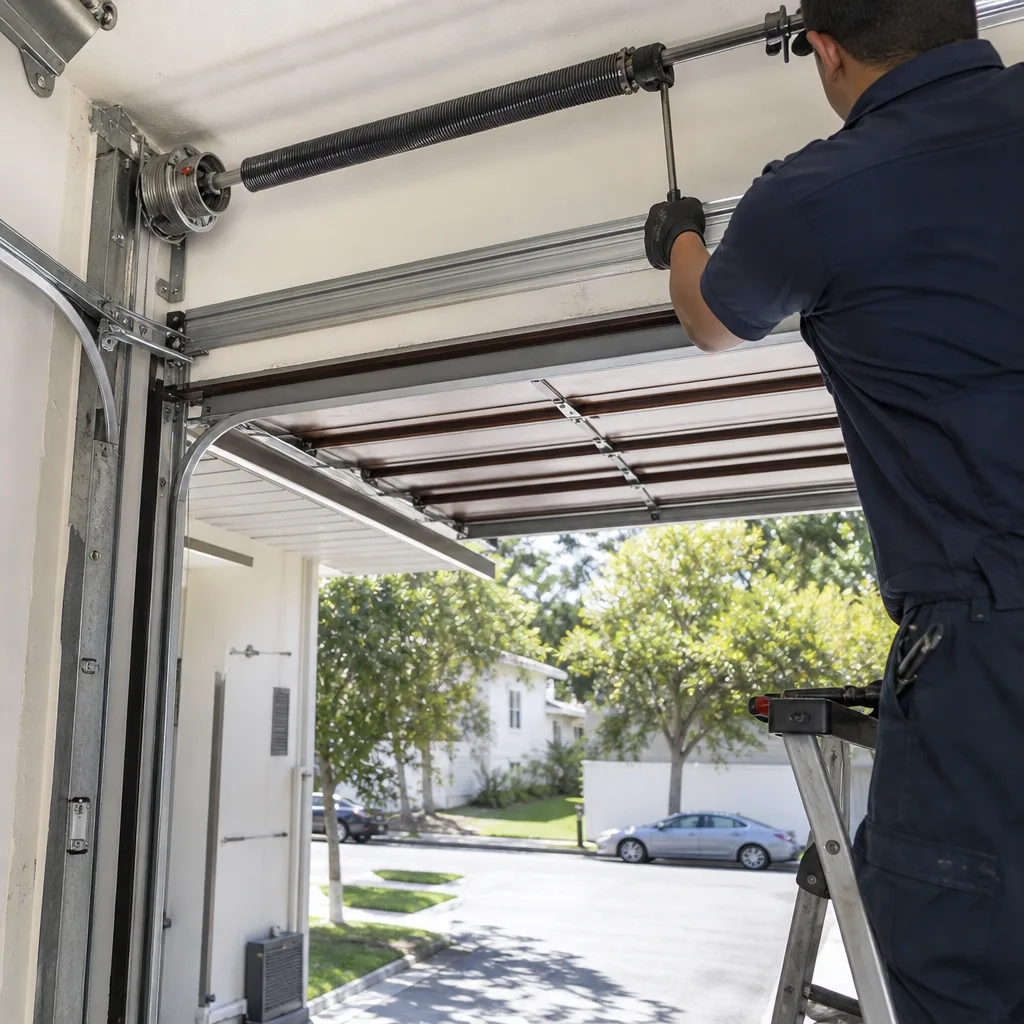 After
AfterGarage Door Repair Maintenance Checklist for Los Angeles Homeowners
The number-one premature spring failure in Los Angeles isn’t overuse. It’s corrosion from marine-layer moisture cycling through an unlubricated coil. A $4 application of lithium grease every six months prevents a $180-$320 spring replacement. That math is rarely in the checklist you find online. This guide is built for what Los Angeles actually does to garage doors: UV that brittles weatherstripping, salt that eats cable strands, and seismic events that shift track brackets. We’ll walk you through each component, what fails, what it costs to fix, and how often to check it.
Quick Answer
Garage door maintenance in Los Angeles means inspecting and lubricating seven components on a schedule tied to your microclimate (coastal homes need more frequent corrosion treatment than inland valley homes), checking bottom weatherstripping for UV brittleness, and verifying opener force settings comply with California’s UL 325 requirements. Most homeowners need two 15-minute inspections per year, plus a cable and spring lubrication every six months. The total annual cost of proper maintenance runs $15-$40 in materials, compared to the $180-$900 price range for the repairs it prevents. For more guides & resources, see our blog.
Table of Contents
- Component-by-Component Inspection: Symptoms, LA Causes, and Repair Costs
- The LA Lubrication Schedule: Coastal vs. Inland
- Bottom Weatherstripping: UV Brittleness vs. Dirt Compression
- Seismic Bracket and Track-Mount Hardware Checks
- Opener Force-Sensitivity Testing and California’s UL 325 Requirement
- The LA Maintenance Timeline: What to Do and When
- Common Mistakes to Avoid
- When to Call a Professional
BeforeAfterComponent-by-Component Inspection: Symptoms, LA Causes, and Repair Costs
Every garage door in Los Angeles has seven components that fail on a predictable timeline. None of them are exotic. All of them are checkable in under fifteen minutes with a flashlight and a step stool. Before you start, pull the manual release cord and lift the door by hand. If the door drifts down or slams at the midpoint, you have a spring or cable problem. Put the opener in lock mode and leave the door closed until it’s fixed. A door with a failed spring weighs 150-400 pounds and can drop without warning.
Torsion Springs
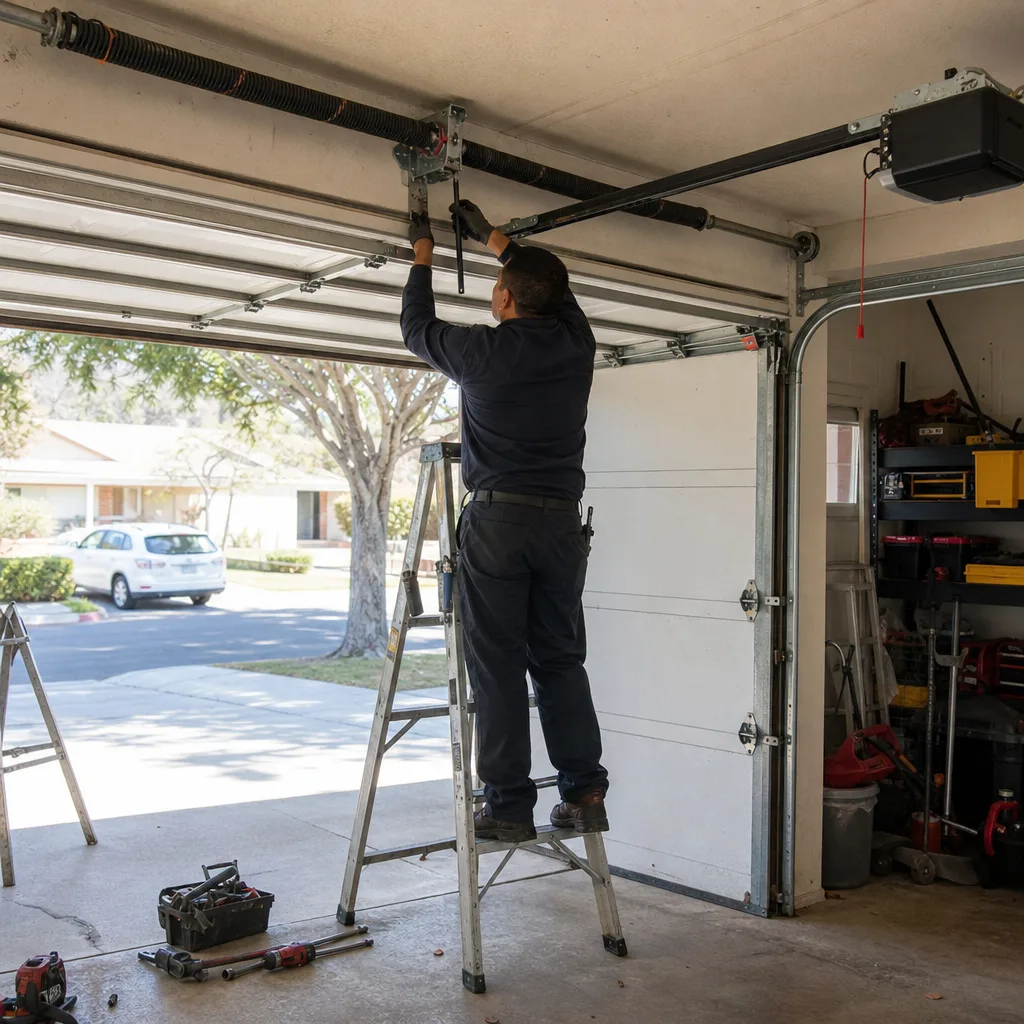
Torsion springs are the coiled steel shafts mounted above the door opening. They counterbalance the door’s weight so the opener only has to move it, not lift it. In Los Angeles, the failure sequence usually starts with rust bloom at the coil gap, then a clean snap. That rust comes from the marine layer that rolls through coastal neighborhoods like Playa del Rey, Mar Vista, and Westchester, then condenses on cold steel overnight. The spring rusts from the inside out, so what looks like surface patina on the outside is often a fracture waiting on the inside.
Symptoms: The door won’t lift or lifts a few inches and stops. You’ll usually see a visible gap in the spring coil.
Typical replacement cost in Los Angeles: $180-$320 per spring, including labor. Most doors have two springs. When one fails, the other is usually measured and replaced at the same time, since it has the same cycle history and the same corrosion profile.
Check: Every three months, look for rust bloom at the coil ends and listen for a grinding sound during operation.
Extension Springs and Safety Cables
Extension springs run along the horizontal tracks on both sides of the door. They stretch and contract rather than coil. If your home was built before 2005, there’s a good chance the door has extension springs unless it’s been converted. The safety cable runs through the center of each spring. It catches the spring if it snaps so it doesn’t become a projectile. In Los Angeles, extension springs and their cables corrode faster near the coast, and we see more broken safety cables in homes within two miles of the ocean than anywhere else in the city.
Symptoms: The door leans to one side, makes a loud bang when opening, or closes unevenly.
Typical replacement cost: $140-$240 for extension springs. Safety cable replacement runs $80-$150 per side if done separately.
Check: Every six months, confirm the safety cable runs through the spring and isn’t frayed at the ferrules (the crimped metal ends).
Lift Cables
Lift cables are the steel cables that run from the bottom bracket of the door up to the drum at the top of the shaft. They carry no tension when the spring system is working properly, which means a frayed cable is a symptom, not a cause. If the spring is doing its job, the cable can’t fray. If you see separated strands, the spring has lost tension and the cable has been doing the spring’s work. That’s why we photograph the cable and then measure the spring before quoting anything. The cable is evidence of what else failed.
Symptoms: Visible fraying, a door that’s heavy on one side, or a cable that’s jumped off the drum.
Typical replacement cost: $120-$220 for both cables, but the spring is usually the actual problem, so expect the full job to run $300-$540.
Check: Monthly visual. Look for dull gray strands separating from the cable body at the bottom bracket, especially after rain or heavy fog cycling.
Rollers
Rollers are the wheels mounted on the door’s hinges that ride inside the tracks. Los Angeles doors take a beating in this department because the city’s older housing stock means a lot of doors with original steel rollers from the 1990s and early 2000s. Steel rollers with unsealed bearings fail quietly. The bearing grinds, the roller flattens, the door starts shimmying, and the hinge pins take side load they weren’t designed for.
Symptoms: Grinding, squealing, a door that wobbles side to side as it moves.
Typical replacement cost: $90-$180 for all rollers upgraded to nylon with sealed ball bearings.
Check: Every six months. Look for flat spots on the roller face and any side-to-side play at the hinge.
Hinges and Brackets
The hinges connect the door panels. The bottom brackets hold the lift cables and take the most stress when the door is fully open. In Los Angeles, hinge failure is often accelerated by seismic micro-movements: small events, sometimes under 2.0, that repeatedly shift the door’s weight distribution. A homeowner in Pasadena or Eagle Rock may notice a door that’s started binding in the last year without any visible damage. The cause is usually cumulative stress on the hinge pins from the ground shifting beneath the foundation.
Symptoms: Visible sag between panels, a door that binds at the same point every time, or a creak that stops when you lift the door by hand but returns under opener load.
Typical replacement cost: $60-$220 depending on the number of hinges and whether brackets need realignment.
Check: After any seismic event over 3.5 magnitude, and every six months as a baseline.
Inspection Table: LA Failure Timeline
| Component | Failure Signal | LA-Specific Cause | Repair Cost Range | Check Interval |
|---|---|---|---|---|
| Bottom weatherstripping | Daylight visible under door | UV brittleness, cracking | $40-$90 | Every 3 months |
| Torsion spring | Door won’t lift, visible coil gap | Marine-layer corrosion | $180-$320 | Every 3 months |
| Lift cables | Frayed strands at bracket | Salt air, spring tension loss | $120-$220 (cables only) | Monthly |
| Rollers | Grinding, wobble | Bearing wear, steel rollers | $90-$180 | Every 6 months |
| Hinges/brackets | Panel sag, binding | Seismic micro-movement | $60-$220 | After 3.5+ quake, every 6 months |
| Opener force settings | Door reverses without contact | Temperature expansion, spring fatigue | $85-$160 (tune-up) | Every 6 months |
If you’re wondering whether your door is worth maintaining or whether it’s time to look at Garage Door Installation in Los Angeles, the answer comes down to panel condition and track straightness. Springs, cables, and rollers are wear items. Replacing them is maintenance. Replacing the door is a different conversation, and it starts with measurement, not guesswork.
The LA Lubrication Schedule: Coastal vs. Inland
Los Angeles isn’t one climate. It’s at least three, and your lubrication schedule should follow the one you live in. Coastal homes in Venice, Santa Monica, Playa del Rey, San Pedro, and Long Beach sit under the marine layer for a good portion of the year. That air carries salt, and salt accelerates corrosion on any unprotected steel. Inland valley homes in Sherman Oaks, Encino, Woodland Hills, and Northridge deal with extreme heat instead, which dries out lubricant faster and causes thermal expansion in the tracks. Hillside homes in Silver Lake, Echo Park, and Mount Washington get both, plus heavier dust.
What to Use
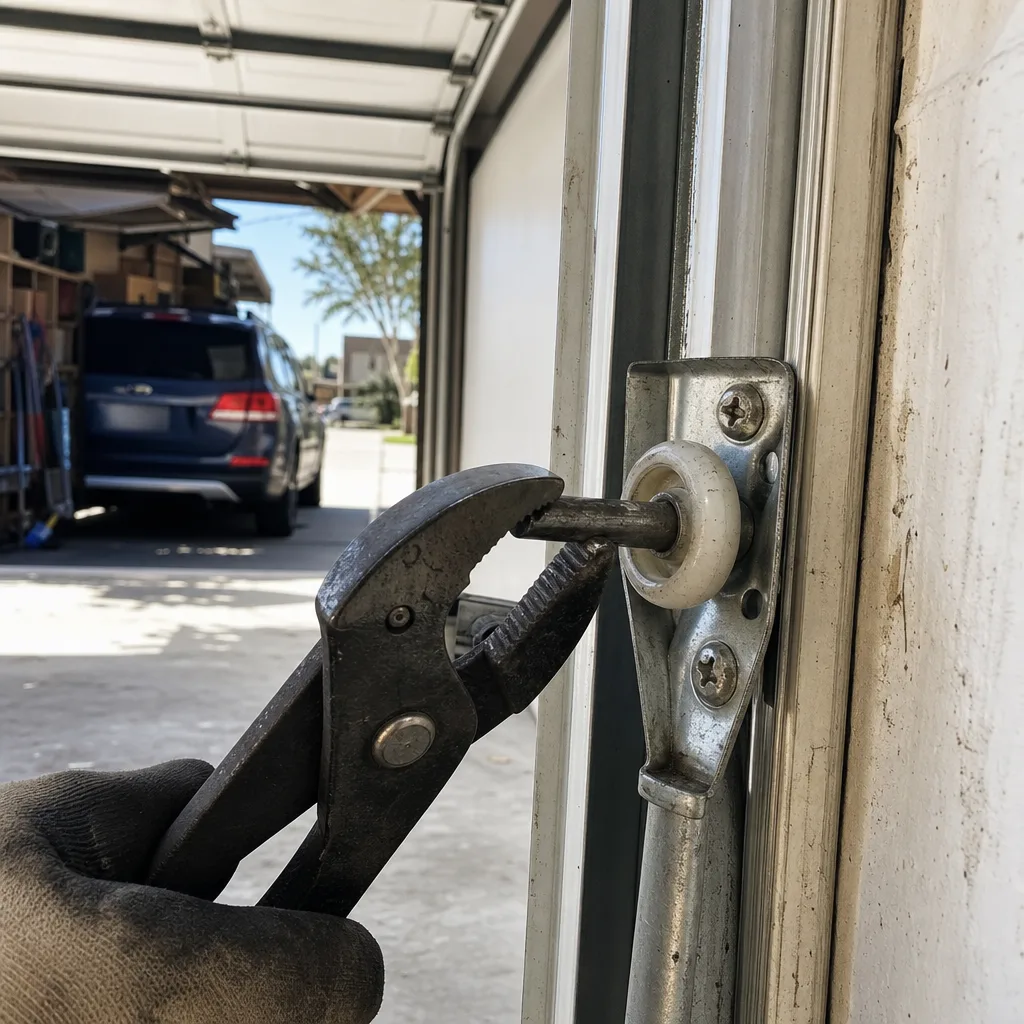
White lithium grease for the torsion spring coils and the bearing plates at the ends of the spring shaft. Silicone spray for the rollers, hinges, and lift cables. A solvent-based garage door lubricant for the track, but only if the track actually needs it; most Los Angeles tracks don’t, and over-lubricating tracks is how rollers slip and doors bind. Avoid WD-40 as a primary lubricant; it’s a solvent and will strip existing grease before it evaporates.
Coastal Schedule (within 3 miles of the ocean)
- Every 3 months: White lithium grease on torsion spring coils and bearing plates. This is the single most important maintenance task for coastal Los Angeles homes. The marine layer condenses on cold spring steel overnight, and without a grease barrier, that moisture sits in the coil gap and starts the corrosion cycle.
- Every 3 months: Silicone spray on lift cables, especially at the bottom bracket and drum. Wipe down any visible rust bloom with a dry rag first.
- Every 6 months: Silicone spray on rollers and hinges.
- Every 6 months: Inspect and replace lithium grease on the spring shaft bearing plates.
Inland Valley Schedule (San Fernando Valley, San Gabriel Valley, Inland Empire edge)
- Every 4 months: White lithium grease on torsion spring coils. The heat bakes grease out of the coil gap faster, so the interval is longer than coastal but still tighter than most generic checklists suggest.
- Every 6 months: Silicone spray on rollers, hinges, and cables.
- Every 6 months: Check track bolts for thermal loosening. Extreme heat cycles cause metal expansion and contraction, and over time that walks bolts out of their threads.
Hillside Schedule
- Every 3 months: Grease springs and cables. Hillside homes combine marine-layer moisture with inland heat depending on elevation and wind exposure, so treat them like coastal homes for corrosion purposes.
- Every 3 months: Wipe down rollers and tracks to remove dust accumulation before lubricating. Dust mixed with grease turns into grinding paste.
The parts cost for a year of lubrication on a coastal Los Angeles home is about $20: one can of white lithium grease, one can of silicone spray. The spring replacement it prevents runs $180-$320. The math is not complicated.
Bottom Weatherstripping: UV Brittleness vs. Dirt Compression
The bottom weatherstripping is the rubber strip attached to a retainer along the bottom edge of the door. It seals the gap to keep water, dust, leaves, and rodents out. In Los Angeles, it fails two different ways, and the fix is different for each.
UV brittleness happens when the rubber has been baked by direct sun exposure. Los Angeles gets an average of 284 sunny days per year, and a door that faces west or south gets direct afternoon sun for five to six hours a day during summer. The rubber loses its plasticizer, the compound that keeps it flexible, and starts to crack. The cracks open as the door flexes, and eventually pieces break off.
Dirt compression looks similar on the surface but has a different cause. The rubber compresses against the concrete over years of use, losing its rebound. It’s especially common on doors in older Los Angeles neighborhoods where the concrete slab has shifted slightly, leaving an uneven contact surface. The rubber flattens in the low spots and starts to tear.
How to tell the difference: Press your thumbnail into the rubber. If it doesn’t rebound within two seconds, the material has failed and should be replaced. If it rebounds but looks flattened, you may be able to adjust the retainer up or down to restore contact. But be honest with yourself about what you’re seeing. A UV-brittle strip will keep cracking in new places even after adjustment.
Replacement cost in Los Angeles runs $40-$90 for the strip installed, depending on door width and whether the retainer is still intact. A retainer replacement adds $15-$30. Most hardware stores sell universal T-style or bead-style weatherstripping, but the fit matters more than the brand. We’ve seen doors with Amarr and Wayne Dalton retainers that take a specific profile; a universal strip will work, but the seal won’t be as tight. If you’re not sure what profile your door needs, snap a photo of the bottom edge before you shop, or call someone who can identify it from the photo.
Seismic Bracket and Track-Mount Hardware Checks
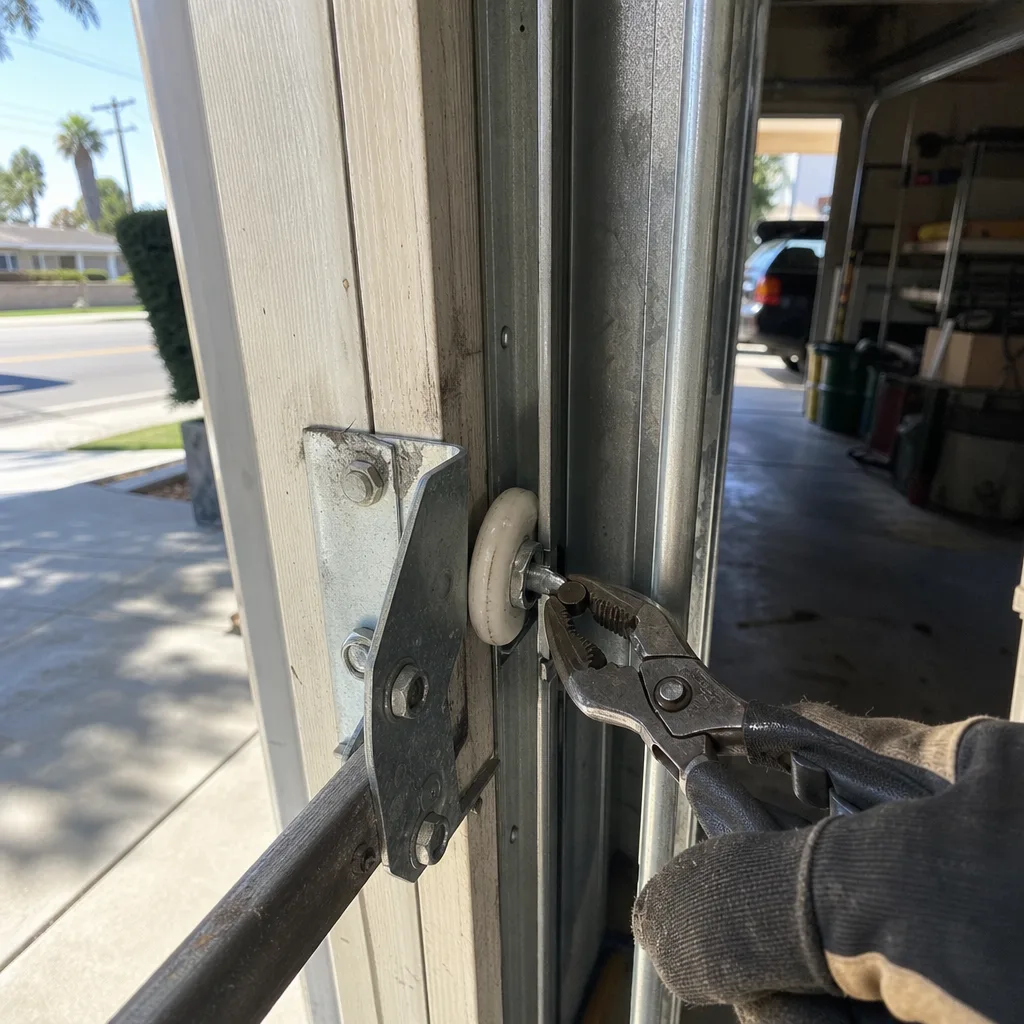
Los Angeles is seismic country, and your garage door is one of the largest moving objects in your house. When the ground shifts, the track system absorbs it. The vertical tracks are mounted to the wall with lag screws or brackets at intervals, and the horizontal tracks hang from angle iron that’s bolted to ceiling joists. A 3.5+ magnitude event delivers enough lateral force to loosen bolt threads by a half-turn or more, even when nothing visible moves.
After any seismic event over 3.5 magnitude in the LA basin, here’s what to check:
- Track-to-wall brackets: Shine a flashlight behind each vertical track and look for daylight between the bracket and wall. A bracket that’s pulled away even a quarter-inch means the lag screw has lost its bite.
- Horizontal track hangars: Look up at the angle iron. Check that all bolts are tight and the angle hasn’t twisted. A twisted hangar puts lateral load on the rollers and accelerates bearing wear.
- Door alignment in the tracks: Open the door halfway and look at the gap between door edge and track on both sides. It should be even. If it’s wider on one side, the track has shifted.
- Opener rail alignment: The rail should run straight from the motor to the door. A shifted rail causes chain slack or belt wander.
What you can fix yourself: snugging a loose bolt with a socket wrench. What you should not fix yourself: re-drilling a lag screw hole that’s stripped out, or attempting to bend a track back into alignment. A misaligned track under tension can kick the door out of the track entirely, and a door that leaves the track can fall. This is one of the areas where we tell homeowners to stop and call. The Garage Door Repair in Los Angeles page covers the full range of track repairs, and the short version is this: track alignment is a measured repair, not a hammer-and-hope job.
One more Los Angeles-specific note: many homes in the hills and canyon areas, including Studio City, Laurel Canyon, and the Hollywood Hills, have garages built into slopes. The track systems on these doors often anchor into retaining walls or pier-and-beam structures that shift independently of the house. If your garage is built on a different plane than your living space, your maintenance schedule should account for that, because the door will move differently than a slab-on-grade installation.
Opener Force-Sensitivity Testing and California’s UL 325 Requirement
California is one of the states that has adopted UL 325 as a code requirement for garage door openers. That’s not a suggestion. It’s a legal compliance standard that governs the force-sensitivity and entrapment protection of every automatic garage door opener installed in the state. What the standard means in practice is that your opener must reverse when it encounters resistance while closing, and it must reverse or stop when the safety sensors detect an obstruction.
You should test this every six months. Here’s the procedure:
- Sensor test: Press the close button. Wave your foot through the infrared beam at the bottom of the door track while the door is closing. The door should immediately reverse. If it doesn’t, the sensors need realignment or replacement.
- Force-sensitivity test: Place a roll of paper towels, a full gallon jug, or a similar soft object (about 2 inches thick) in the center of the door opening. Close the door on it. The door should reverse within 2 seconds of contact. If it stops and sits on the object, the down-force setting is too high.
- Manual release test: Pull the red release cord. Lift the door by hand. It should move smoothly and stay in place at waist height without support. If it drops or slams, the spring system is no longer counterbalancing correctly and the opener is working harder than it should.
In our experience in Los Angeles, force settings drift for a few reasons. Temperature swings change the viscosity of the lubricant in the trolley and rail, which changes the force needed to move the door. Spring fatigue over time means the opener does more and more of the lifting, which wears the motor and changes the force curve. And dust accumulation on the safety sensor lenses causes false reversals, which some people “fix” by turning up the force, which creates exactly the entrapment hazard UL 325 exists to prevent.
The fix for drift is a tune-up: clean the sensors, re-lubricate the rail and trolley, check the spring tension, and re-set the force limits. In Los Angeles, a garage door opener tune-up runs $85-$160. This is also the range where you should start thinking about Garage Door Opener Repair & Installation in Los Angeles if your opener is more than 12 years old and the logic board is showing signs of failure (intermittent response, uncommanded reversals, lights that flicker without a trip).
The LA Maintenance Timeline: What to Do and When
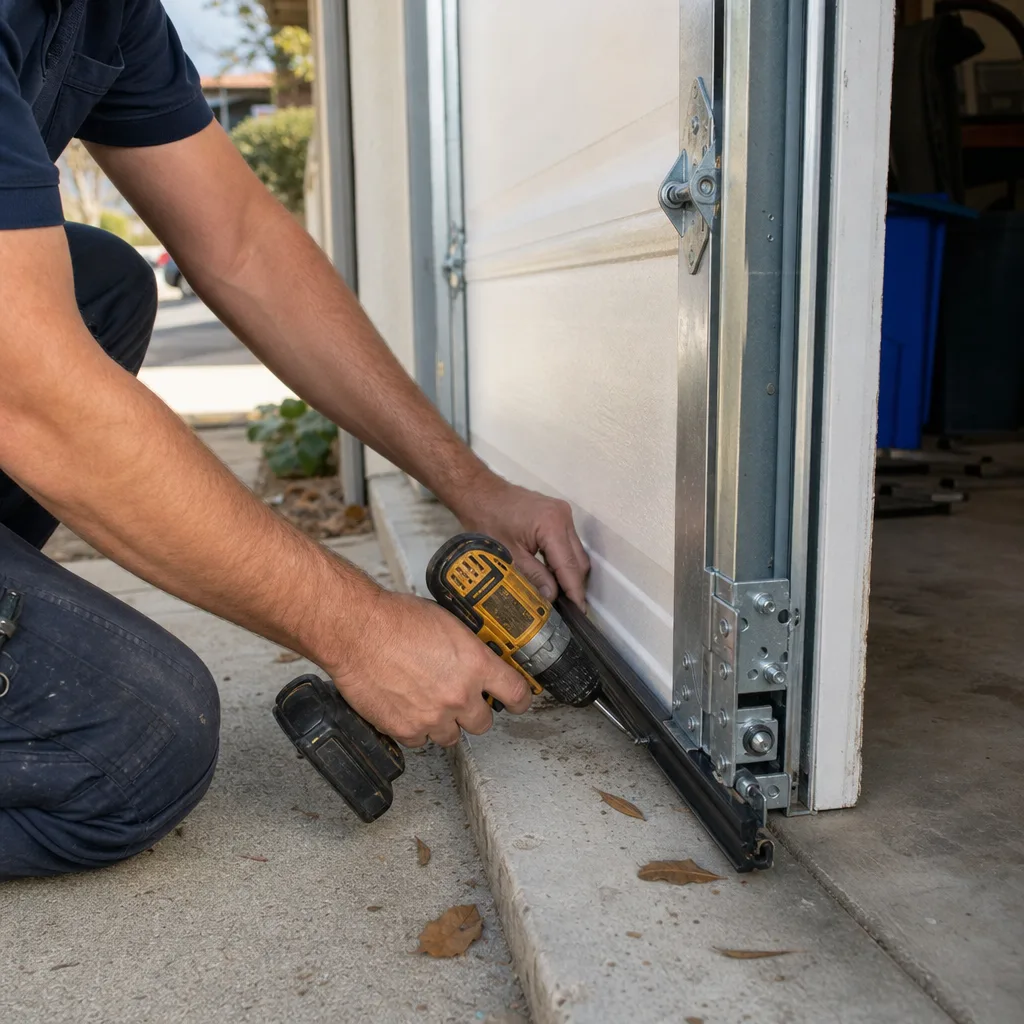
Generic maintenance checklists tell you to “lubricate in spring and fall.” That’s written for climates with seasons. Los Angeles doesn’t have seasons in the sense those checklists assume. For a deeper look at local risks, read our Garage Door Warning Signs: A Los Angeles Homeowner’s Reference Guide. What Los Angeles has is a marine-layer cycle and a heat cycle, and your maintenance should track those.
Here’s a task-by-task timeline for a Los Angeles homeowner:
Every Month (2 minutes)
- Visual check of lift cables at the bottom bracket for fraying.
- Visual check of the safety sensors: confirm both indicator lights are on and not blinking.
- Open and close the door once while watching and listening. You’re looking for the wobble, the grind, the hesitation. These are early signals.
Every Three Months (15 minutes)
- Lubrication per your microclimate schedule (coastal homes: springs and cables every 3 months; inland: springs every 4 months; hillside: treat as coastal).
- Weatherstripping check: thumbnail rebound test plus visual crack inspection.
- Torsion spring rust inspection.
- Roller inspection for flat spots and looseness.
Every Six Months (20 minutes)
- Opener force-sensitivity test (sensor test and paper towel test).
- Track bolt torque check: use a socket wrench on a sample of track and hangar bolts. If any move, work through the rest.
- Lubrication: rollers, hinges, and bearing plates.
- Manual release test: pull the cord, lift the door by hand, confirm it stays in place.
After Any 3.5+ Magnitude Seismic Event (10 minutes)
- Track bracket inspection as described above.
- Check door alignment in tracks.
- Run the opener through a full cycle and listen for new noises.
If you do the 3-month and 6-month checks consistently, you will catch most failures before they become emergencies. The components that fail without warning, particularly torsion springs, are the ones that benefit most from the lubrication and rust inspection routine. You won’t prevent every spring failure; springs have a finite cycle life of 10,000-20,000 cycles depending on grade. But you can prevent the premature failures that LA’s climate causes, and those are the ones that hit homeowners in year five or six instead of year twelve.
Common Mistakes to Avoid
- Lubricating the track. The track doesn’t need lubrication. Grease on the track attracts dust, and in Los Angeles that dust is fine and abrasive. Grease plus dust makes a grinding paste that accelerates roller wear. Lubricate the rollers, hinges, and springs. Leave the track dry.
- Using WD-40 on springs. WD-40 is a solvent. It strips the existing grease off the spring coil and then evaporates, leaving the steel exposed. White lithium grease is the right product for this job.
- Ignoring a door that’s been “a little loud for a while.” Loud is the symptom. The cause is usually a dry bearing, a worn roller, or a spring that’s losing its coating. All three are cheaper to fix while the door still operates.
- Replacing one torsion spring when both are worn. If both springs were installed at the same time, they have the same cycle history. Replacing only one means the other will fail soon after, and you’ll pay a second service call. A good technician measures both and quotes both.
- Using generic weatherstripping without checking the profile. Amarr and Wayne Dalton doors use different retainer profiles than older local installs. A wrong-profile strip will seal poorly and pull loose within a year. Match the profile to the retainer, not just the width of the door.
- Adjusting opener force settings without checking spring tension. If the door is heavy because the spring is tired, turning up the opener force treats the symptom and creates a safety hazard. Check the spring first. Then set the force.
When to Call a Professional
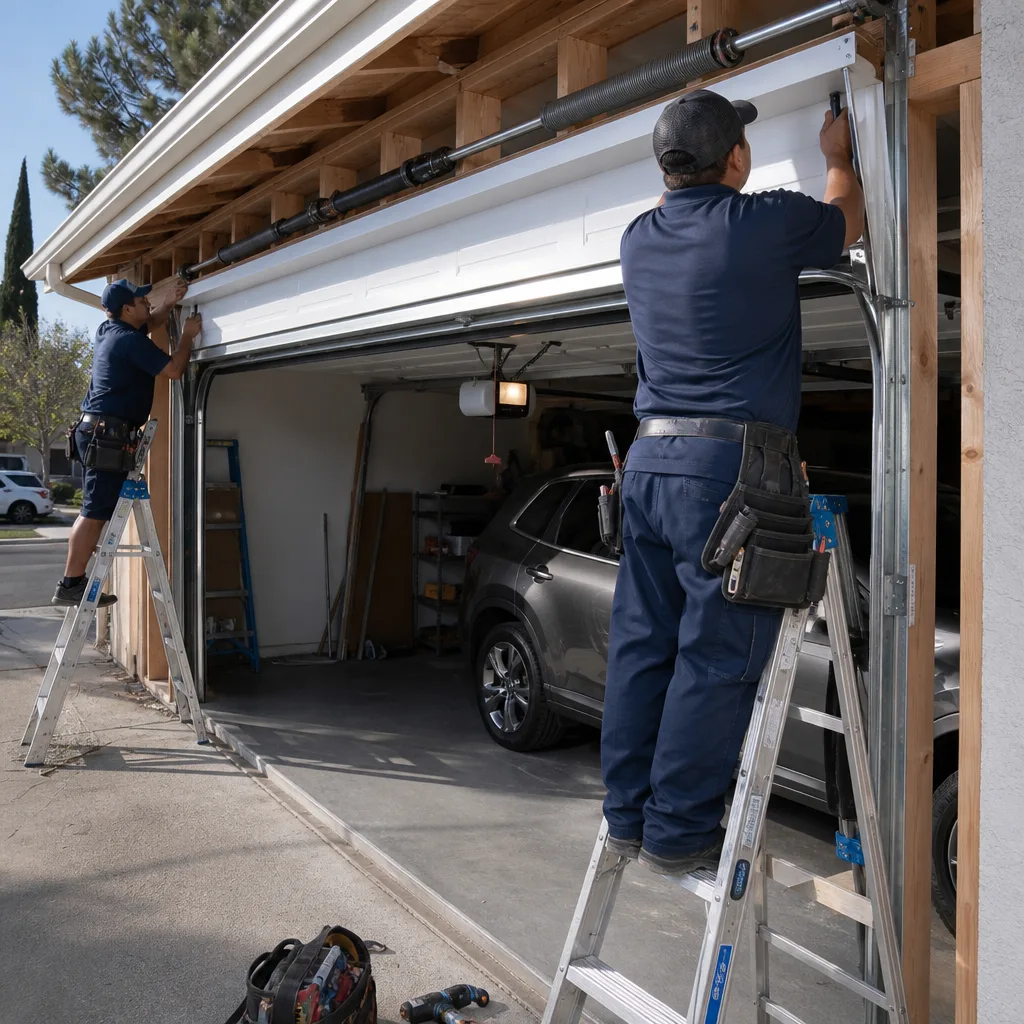
There are scenarios where the correct maintenance step is a phone call. If your torsion spring is broken, don’t attempt to replace it yourself. Springs under tension store enough energy to cause serious injury, and the tools required are specialized. If the door has left the track, don’t try to force it back; the cable tension is still live and the door can fall. If you’ve done the force-sensitivity test and the door doesn’t reverse, call someone who knows how to diagnose whether the problem is the sensors, the logic board, or the spring. If your door is more than 15 years old and multiple components are failing in sequence, it’s time for a full-system evaluation, not another patch. Need help choosing? See How to Hire a Garage Door Contractor in Los Angeles: A Step-by-Step Guide.
Servo Garage Doors Los Angeles offers free estimates in Los Angeles, and every estimate is a written, flat price with a written scope of work before any work begins. That’s not a special offer. It’s how we’ve operated since 2015. Call (213) 348-6550 if you’re in Los Angeles and want a second opinion on any written estimate you’ve received, or if you simply want the photo record of what a technician found before anyone quotes you a replacement. That practice, photographing the failed part before quoting it, is why Servo Garage Doors Los Angeles home exists in the first place.
Frequently Asked Questions
Every three months if you live within three miles of the coast, every four months if you live in the San Fernando or San Gabriel Valleys, and every three months for hillside homes above the marine layer. The coastal interval is tighter because marine-layer salt accelerates corrosion on spring steel and lift cables. Your total annual lubrication cost is about $20 in materials.
Torsion spring replacement in Los Angeles typically runs $180-$320 per spring including labor, with most doors requiring two springs. If you live in a coastal neighborhood, the springs may fail earlier than the national average due to marine-layer corrosion. Call (213) 348-6550 for an exact quote, and expect a written flat price before any work starts.
Most of it, yes. Lubrication, weatherstripping inspection, sensor testing, and visual cable checks are all homeowner-level tasks with no special tools required. Spring replacement, cable replacement, and track realignment are not DIY jobs. Those components are under high tension and can cause serious injury if handled incorrectly. When in doubt, the safe move is a professional inspection.
UV exposure. Los Angeles gets 284 sunny days a year on average, and a door that faces south or west gets direct afternoon sun that breaks down the rubber’s plasticizer over time. Once the rubber stops rebounding when pressed, it needs replacement. The fix runs $40-$90 installed.
Yes. UL 325 is the federal safety standard that California has adopted as code for automatic garage door openers. It requires the opener to reverse when it encounters resistance while closing and to reverse when the safety sensors detect an obstruction. Test both functions every six months.
After any 3.5+ magnitude event, check the track brackets for daylight between bracket and wall, verify the horizontal track hangars haven’t twisted, confirm the door gap is even on both sides, and run the opener through a full cycle while listening for new noises. Loose bolts can be snugged with a socket wrench. Stripped lag screws and bent tracks need a technician.
The Bottom Line
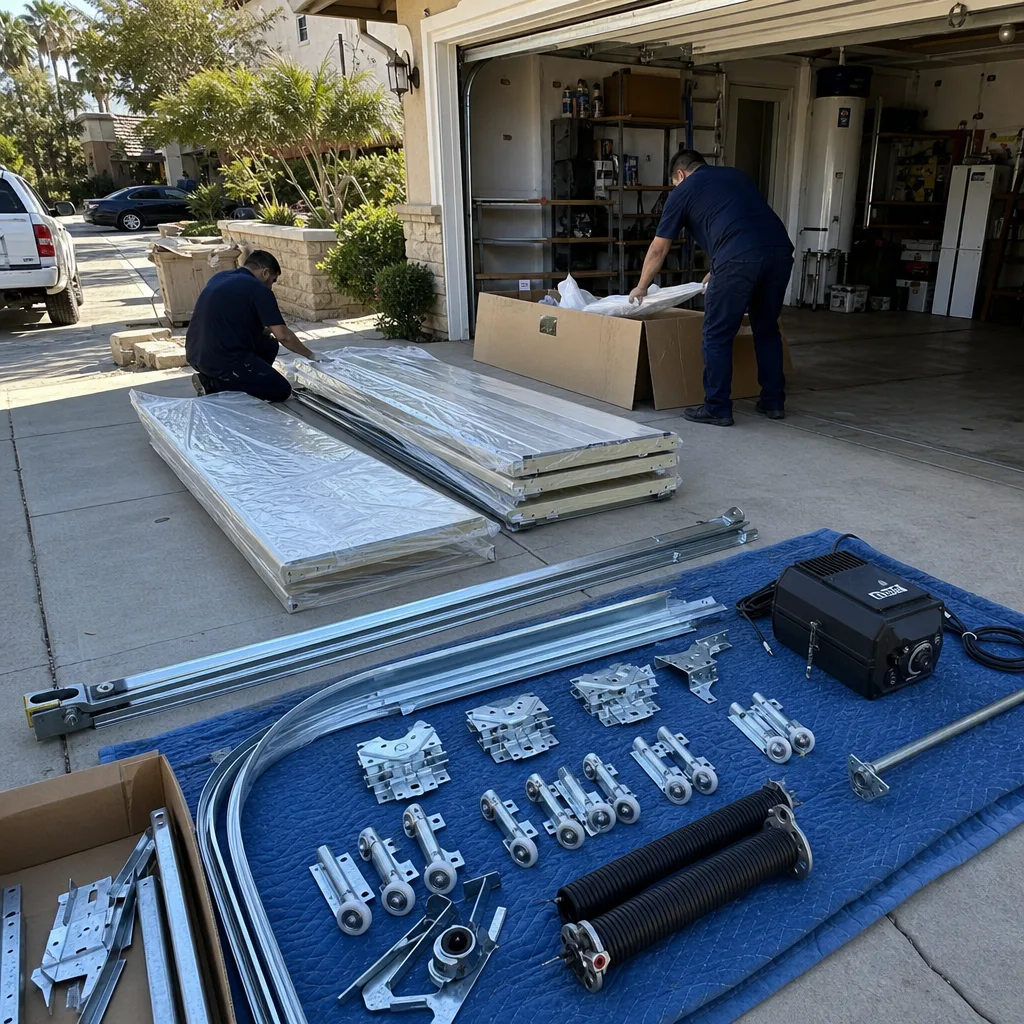
Garage door maintenance in Los Angeles is not calendar-based. It’s based on what the city actually does to a door: marine-layer corrosion along the coast, UV damage across the basin, heat cycling in the valleys, and seismic movement everywhere. The annual cost of doing it right is about $20 in lubricant and 40 minutes of inspection time, split across a few sessions. What it prevents is a $180-$320 spring replacement, a $120-$220 cable job, or a door that fails on the hottest day of the year. Do the 3-month and 6-month checks. Test your opener’s force sensitivity. Replace weatherstripping when it stops rebounding. And if something’s beyond what you’re comfortable doing, get a written opinion and a documented inspection before anyone touches the door. That’s the standard any garage door company in Los Angeles should meet, and it’s the one we’ve operated under since 2015.
Written by Marcus Deller, Owner at Servo Garage Doors Los Angeles, serving Los Angeles since 2015.